To send your first email blast head over to the blasts tab from the right menu and select email campaigns.
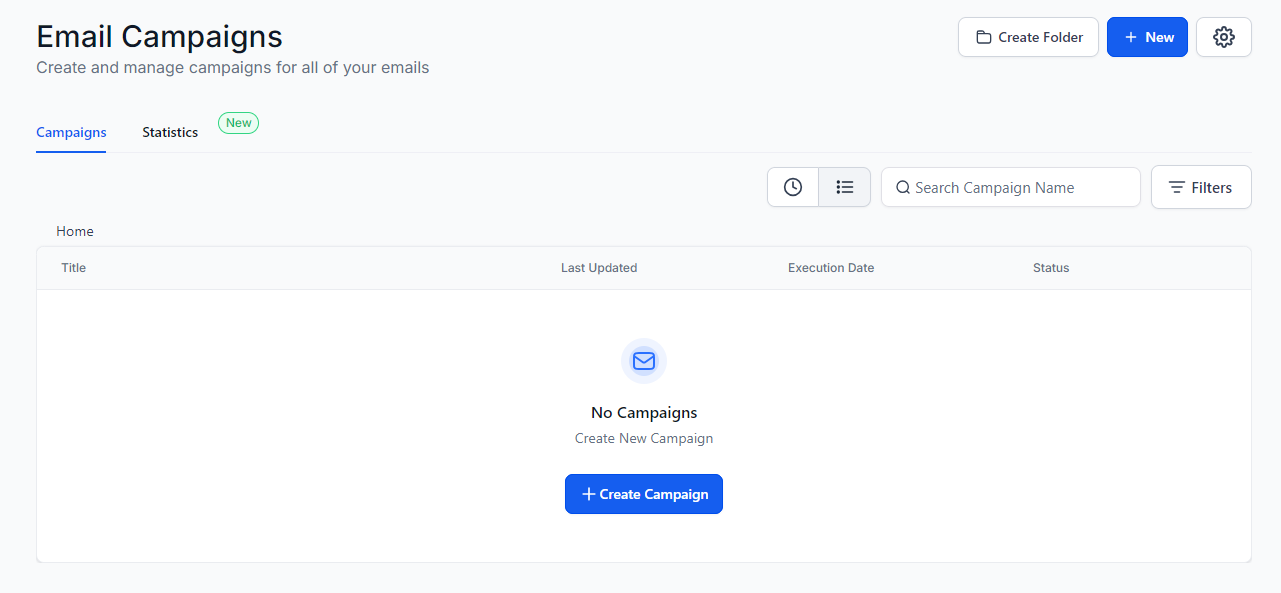
From here, select the "Create Campaign" button to create your first email blast/campaign.
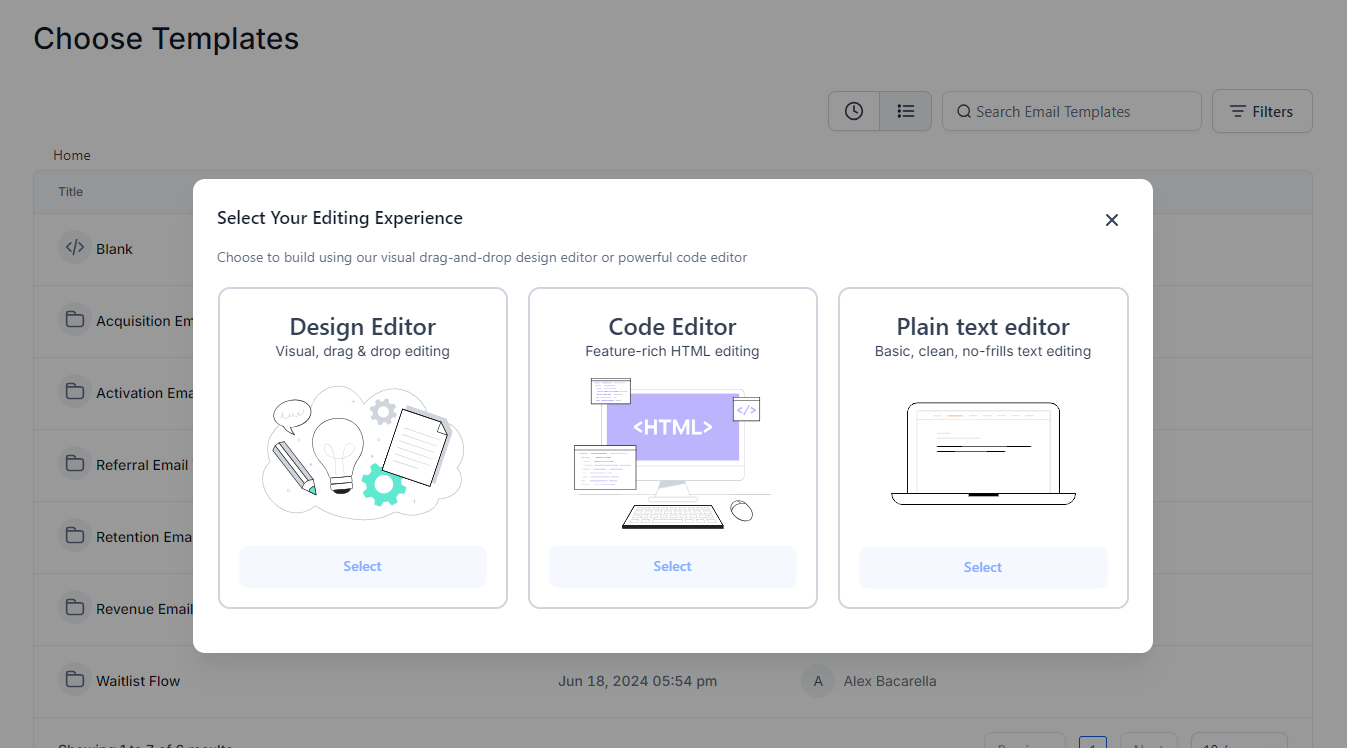
Next, you will be prompted to either select from one of your saved templates or start from scratch. For this example, let's start with a blank slate.

You will then be prompted to select one of three editing experiences:
Design Editor: this is a no-code, drag and drop email builder, in most cases this is what will be used when running email blasts.
Code Editor: this is useful if you are already using a third party tool to design your emails and simply want to paste them into v01
Plain Text Editor: this option is best when you want to send blasts that look like they've been written from your typical email client (like gmail or outlook), this option removes all styling.
For this tutorial, let's use the Design Editor.
With the editor open, you can now begin designing your email. The left hand panel contains your email blocks and layout options which can be dragged into your email canvas.
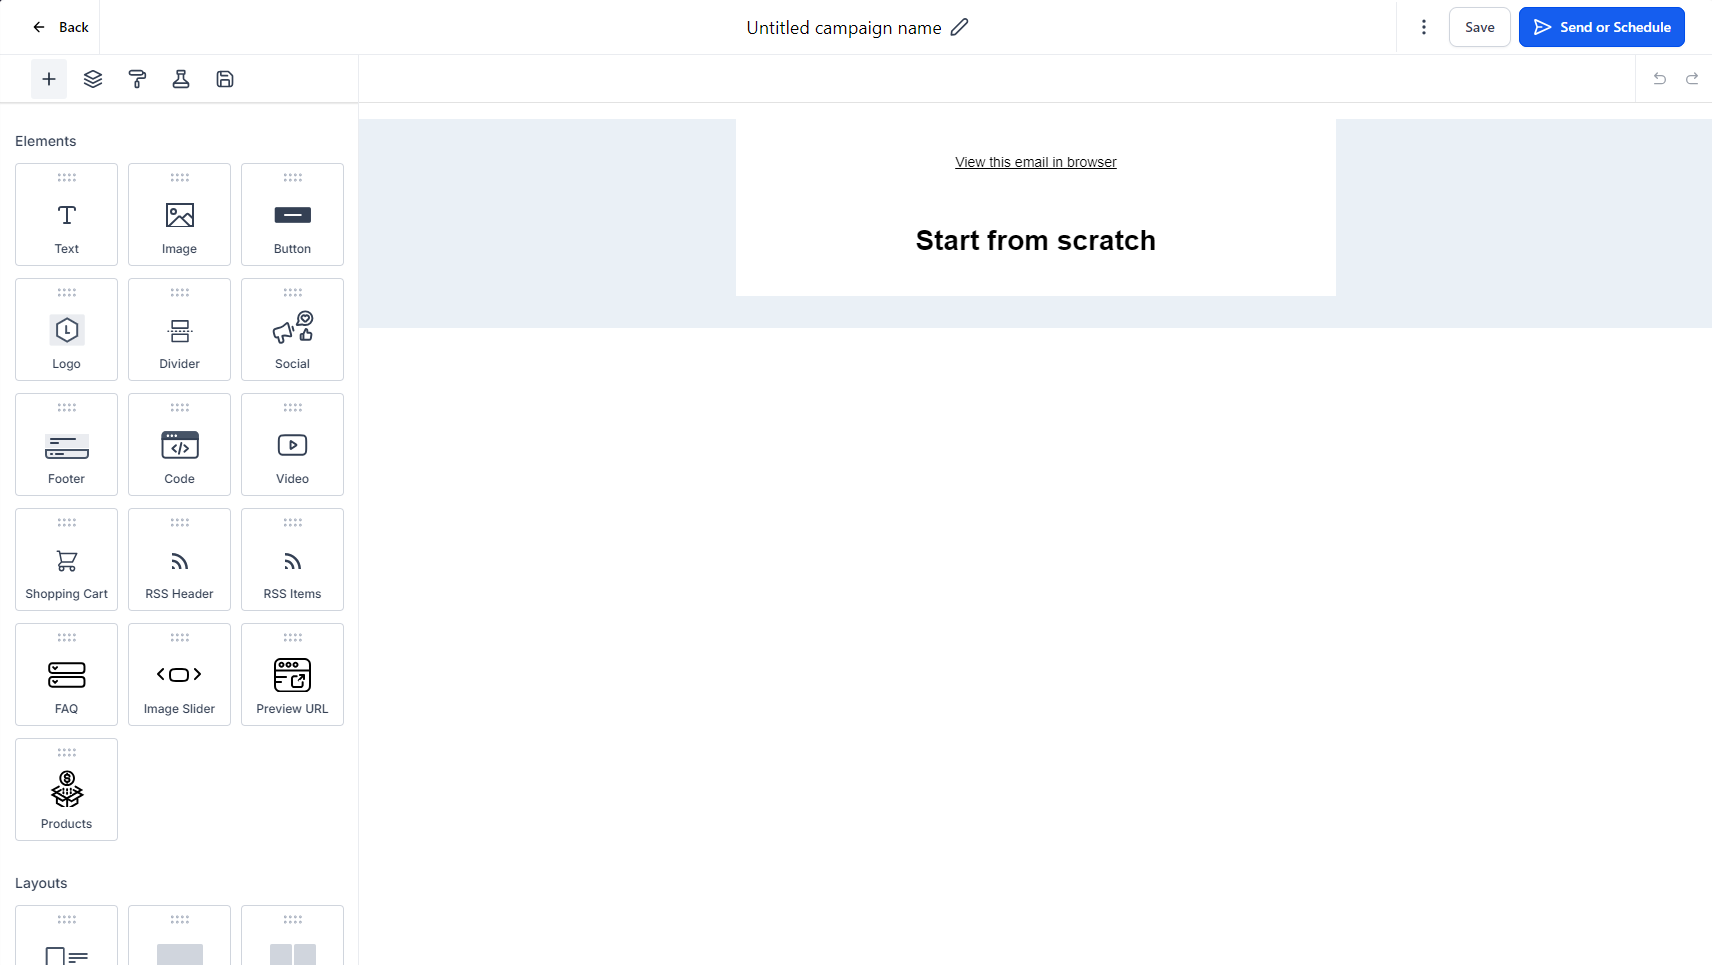
Finally, when you're ready to send our your blast, select the "Send or Schedule" button from the top right.

From this page you will find the sending options, sender name, subject line, previews and the ability to select which segment of your database you want the blast to go out to.
Once you've filled out the details above, you will then be able to send or schedule your email blast 🥳